Navigating Signage Permitting: A Step-by-Step Guide
- YJ INC
- Dec 20, 2024
- 2 min read

When planning to install a business sign, understanding the permitting process is crucial to avoid delays and ensure compliance. A "Sign Permit" is a mandatory requirement in most jurisdictions, ensuring that your signage meets local regulations, safety standards, and zoning laws. This guide walks you through the process step-by-step, providing clarity and actionable advice.
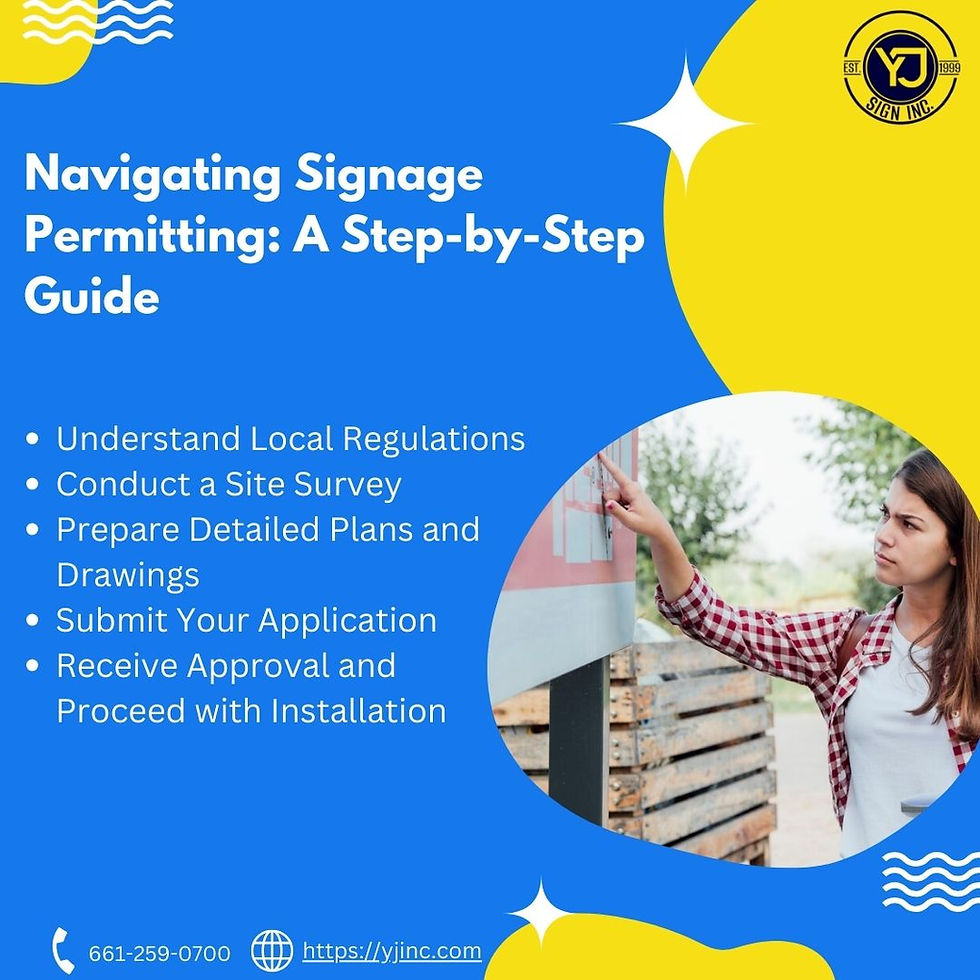
Step 1: Understand Local Regulations
Every city or municipality has its own rules governing signage. These regulations dictate:
Size and height restrictions
Placement guidelines
Materials and lighting requirements
Permitted types of signs (e.g., monument, pylon, wall-mounted)
Start by consulting your local government’s website or contacting the zoning office to gather relevant information. This ensures your design aligns with local codes from the outset.
Step 2: Conduct a Site Survey
Before applying for a permit, conduct a thorough site survey. This involves:
Measuring available space for the sign
Assessing environmental factors, such as wind loads
Identifying nearby utilities or obstructions
A site survey ensures your proposed sign fits the location’s unique characteristics and complies with zoning requirements.
Step 3: Prepare Detailed Plans and Drawings
Most permitting authorities require detailed plans as part of your application. These documents should include:
Structural drawings with dimensions
Engineering calculations (if applicable)
Details on materials and lighting
Installation plans
Partnering with a professional engineer or sign company can streamline this process, ensuring accuracy and compliance.
Step 4: Submit Your Application
With your plans in hand, it’s time to submit your permit application. This typically involves:
Completing a formal application form
Paying associated fees
Providing additional documentation, such as property owner consent
Be prepared for the review process, which may take several days to weeks depending on the complexity of your project and the local authority’s workload.
Step 5: Address Feedback or Requests for Revisions
It’s not uncommon for permit reviewers to request clarifications or modifications. Address their feedback promptly to avoid delays. Common issues include:
Adjusting dimensions to meet size restrictions
Providing additional engineering calculations
Updating plans to address environmental concerns
Step 6: Receive Approval and Proceed with Installation
Once approved, you’ll receive your sign permit, granting you the legal right to install your signage. Keep a copy of the permit on-site during installation to comply with inspection requirements.
Step 7: Schedule Inspections (If Required)
Some jurisdictions mandate inspections during or after installation to ensure the sign adheres to approved plans. Be sure to:
Coordinate with inspectors ahead of time
Have all documentation ready, including the permit and engineering drawings
Passing inspection is the final step before your sign becomes a permanent fixture.
Conclusion
Navigating the signage permitting process can seem daunting, but breaking it down into manageable steps makes it much more straightforward. By understanding local regulations, preparing detailed plans, and working with professionals, you can secure your sign permit efficiently and avoid unnecessary complications. A well-executed permitting process not only ensures compliance but also contributes to the longevity and success of your signage project.


Comments